How to make a Rainbow Cake
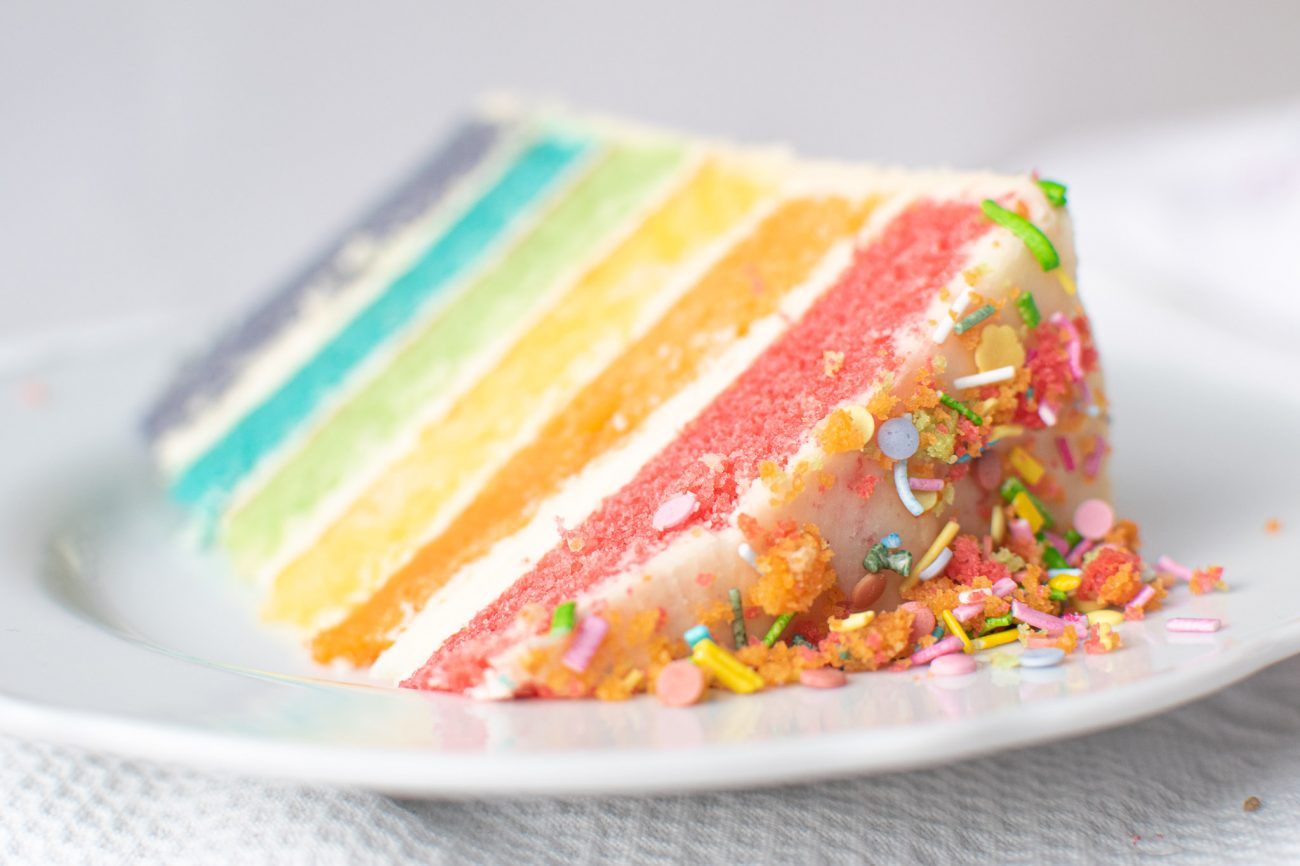
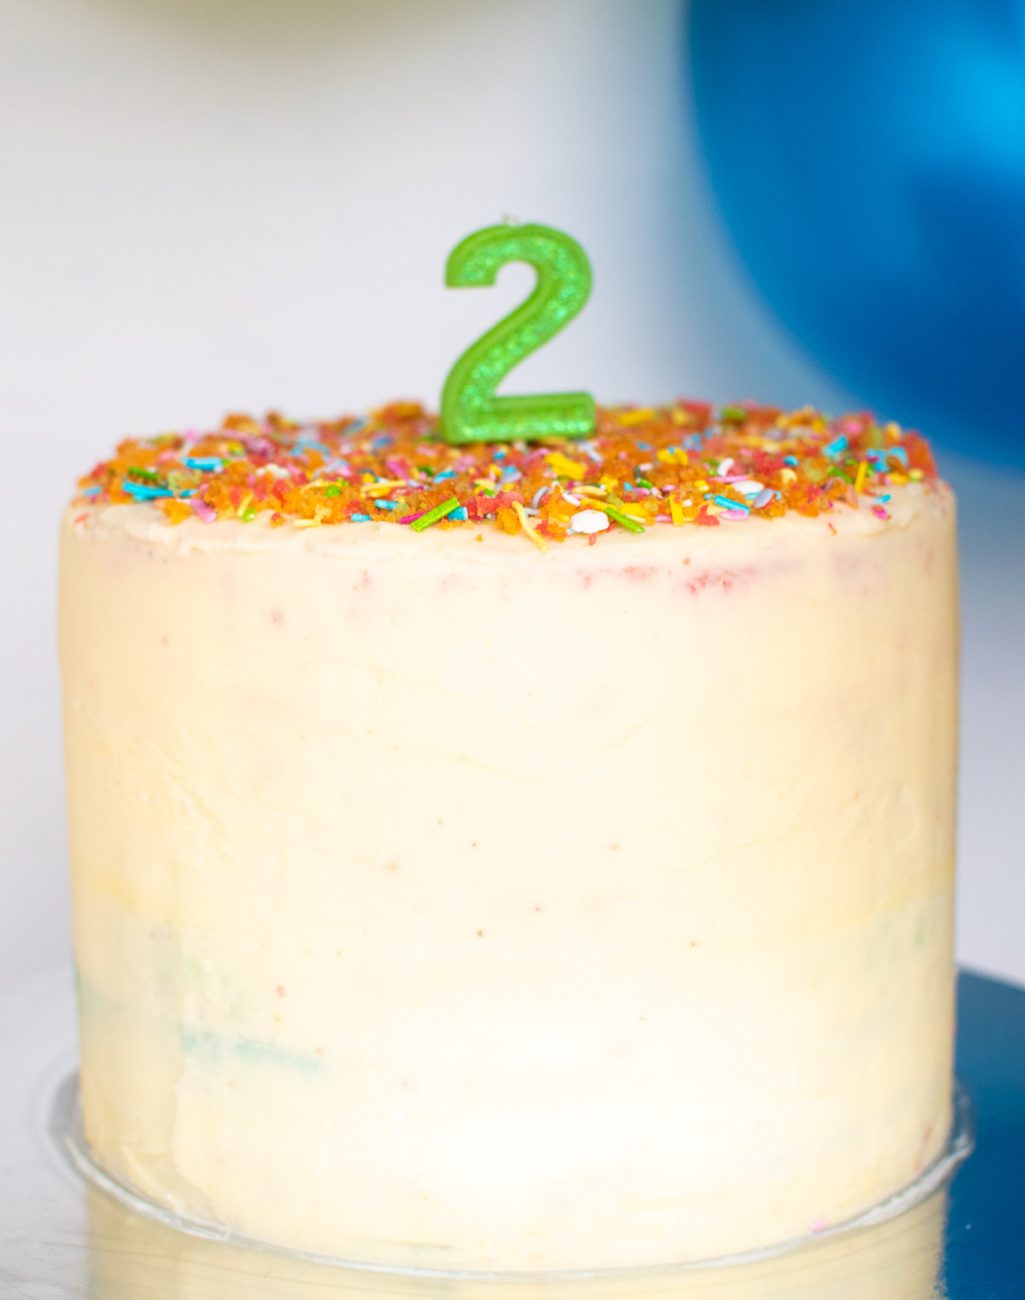
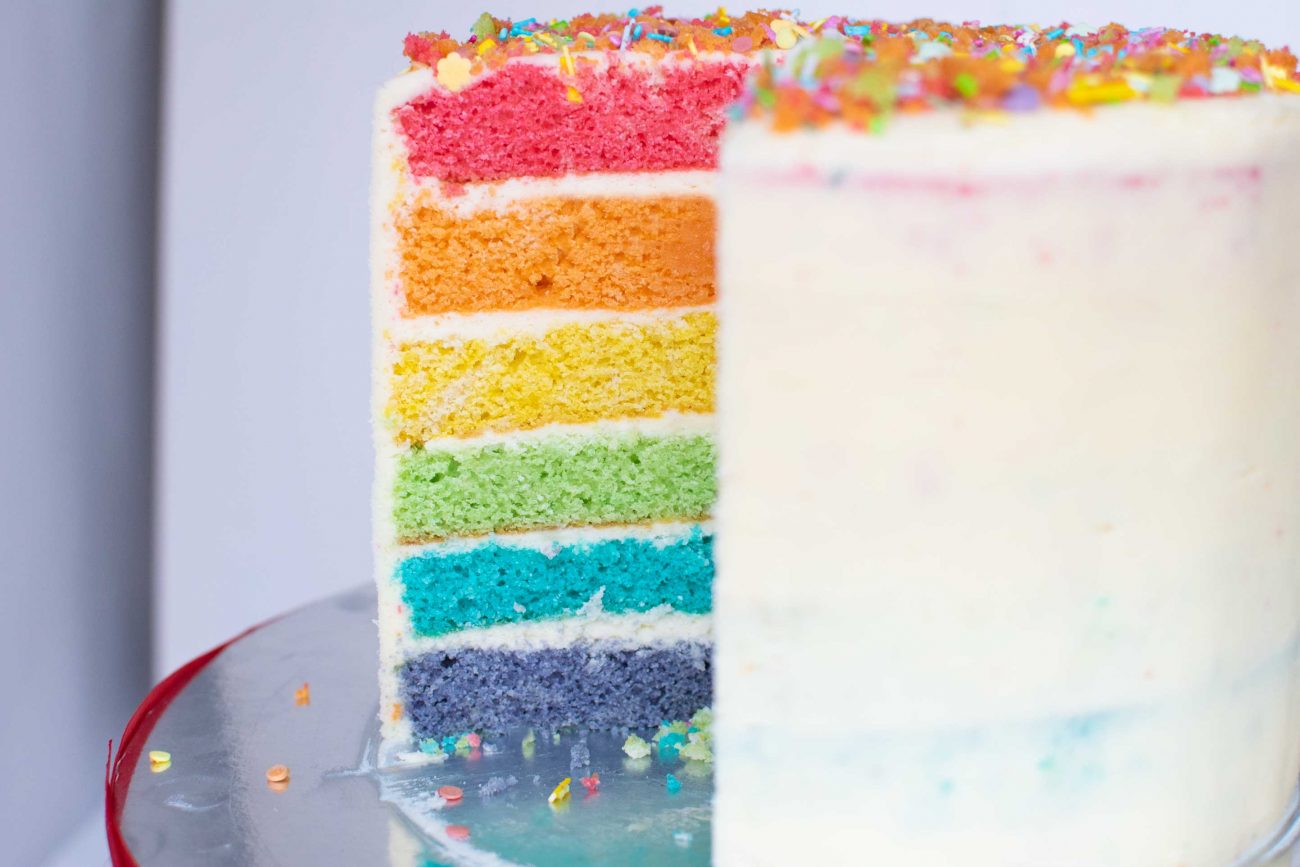
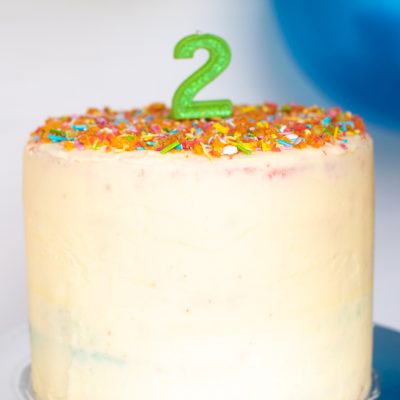
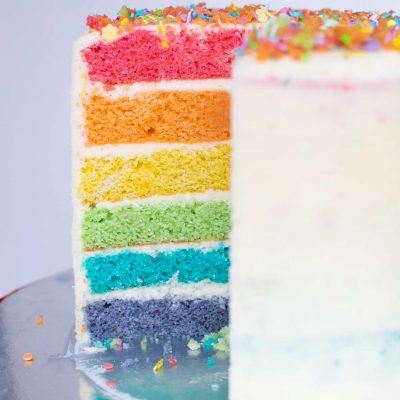
This will be your complete guide on how to make a rainbow cake.. successfully. There is more to making a cake with the wow factor than just following a recipe.
It is pretty easy to make a cake taste amazing, even if it sinks or ends up a weird shape, if its got sugar in it its going to taste good. But with a visually amazing cake we don’t want it lob sided. If you want to know how to make a rainbow cake to be proud of this guide will go through some helpful techniques, equipment and the best ever recipe that will leave you with an astonishingly perfect cake to wow your special birthday person or party guests!
Choose a great recipe
To begin i’m going to give you the most perfect vanilla sponge recipe. The most delicate soft airy crumb you can imagine. I found this recipe from Cupcake Jemma, owner of London’s Crumbs & Doilies Bakery – where else! Cupcake Jemma is the queen of baking in my eyes and shares her amazingly perfected and fool proof recipes. So in this guide I will be using her Rainbow Cake recipe which you can also follow her video on her YouTube channel.
You will need:
For the cake –
- 9 tbsp whole milk
- 1 ½ tsp vanilla extract
- Various colour pastes (red, orange, yellow, green, blue & purple)
- 750g soft unsalted butter
- 750g caster sugar
- 9 large free-range eggs
- 750g sifted self-raising flour
- Butter & flour for preparing the cake tins
For the buttercream –
- 400g soft unsalted butter
- 900g sifted icing sugar
- 5-6 tbs whole milk
- ½ tsp vanilla extract
Have the helpful equipment
To perfect a visually amazing cake you will need some extra nifty bits than your bowl and wooden spoon. Here is what you will need for this rainbow cake…
- extra large bowl
- electric whisk
- 6 medium sized bowls
- 2 – 6 8inch cake tins
- leveler
- gel food colouring
- turn table
- slightly smaller than 8 inch circle guide
- palette knife
- cake scraper
Cake leveler
This is just absolutely essential for creating those perfectly even layers. When a cake is bakes it nearly always rounds at the top and when we are stacking 6 layers of sponge we need a really flat and even surface to do it.
Gel food colouring
Gel food colouring as appose to liquid is much easier to use and I find you get a much better, concentrated colour. This particular recipe is based on using a gel food colouring so we know the liquid content is correct if we use the same. I love the brands Sugarflair and Wilton, they do so many amazing colours, you can always find the exact tone you need.

Turn table

You need necessarily need a turn table but it really comes in handy when icing the cake. You can have that smooth gradual motion to create a beautifully smooth icing finish. And it makes things a whole lot easier.
Slightly smaller than 8 inch circle guide
This is a circle object than can be pretty much anything thats clean and light and that is ever so slightly smaller than your cake sponges. This is so we can use it as a guide to trim around the outside of the cake, removing the darkened crust and again creating that absolute perfect shape, ensuring each layer of sponge is well.. as identical as it can be.
Palette knife
This is not absolutely necessary but it sure helps to easily and evenly distribute the icing over the cake. I love this little one that is at an angle, it actually really does make a difference.
Cake scraper
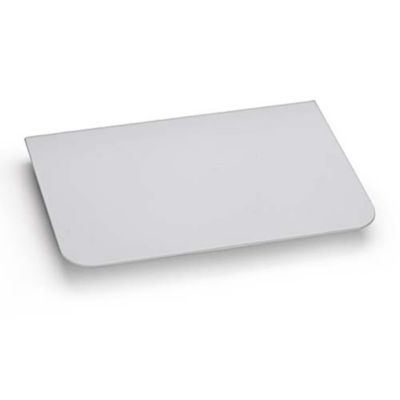
This one is absolutely necessary. This is probably the cheapest but one of the most essential tools for making a perfect looking cake. This is the tool that will finish off your icing to perfection and personally the only way I have been able to achieve a smooth iced cake. The cake scraper will also remove excess icing and even it out. This tool really works amazing with having the turn table to spin the cake while the scraper is in perfect position against the cake.
6 bowls and 2 – 6 cake tins
As we are making a rainbow cake we need lots of bowls to mix seperate colours into each sponge batter and as many 8inch cake tins as possible otherwise there will be a lot of washing a re-lining the tins, it will take all night! And while we wait for each layer to bake the rest of the batter is sat on the side waiting. I did do this cake with 4 tins and it worked just fine so you can absolutely do it with 2 but more helps!
Extra large bowl and electric mixer
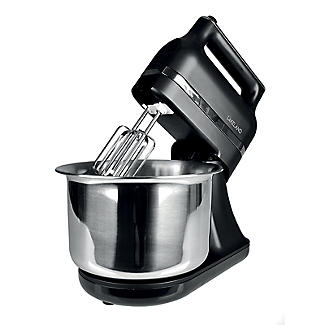
This recipe is huge! its makes a lot of batter so to mix it all in one before you separate the batter to colour it it helps to have a large bowl on a stand mixer.
Know the techniques
Weigh the bowl and batter
Okay this one is a bit anal… am I allowed to say that? Well its my blog… weight each lot of batter when separating the batter into each colour. That way each layer is absolutely even. Please dear god remember to weigh your large bowl and substract that weight from the whole load of batter weight. Then divide that number by 6. Now you have the weight for each layer of batter (not including the cake tin)
So..
Large bowl weighs 1000g
Make the batter in it and you end up with 7000g
Take away the weight of the bowl – 6000g
Each rainbow layer will be 1000g of batter.
Get it?
Or you can totally skip this step and eye ball it. But hey I think it helps.
Room temperature EVERYTHING
Honestly this one really annoys me. There is always something I forget to take out of the fridge, usually butter the worst thing of all to be too cold. So just a lil reminder for you. Cake batter blends and incorporates so much better when all of the ingredients are at room temperature, in-fact I can confidently say if your butter is too cold you will fail miserably. Ive done it too many times.
Cool the cake
Don’t under any circumstances trim or assemble the sponge layer while they are still even a little bit warm, everything will fall a part and melt. Done that one too many times as well! I am very impatient but it is so worth waiting until the crumb is set and doesn’t fall a part. There is nothing worse than a disaster at this stage.
Crumb coat
I love this technique, it is the extra little things that create perfection. So once you can layered all of your sponges and applied the buttercream between each ones, apply a thin layer of icing all of the cake, locking in the crumbs. Put the cake in the fridge at this point to set the icing, after 30 minutes – 1 hour you have the best foundation for applying your final layer of icing free from colourful cake crumbs. Lovley!
So after ticking off all of these tips and ticks you should end up with a wonderfully even and beautiful cake to make someone very happy.
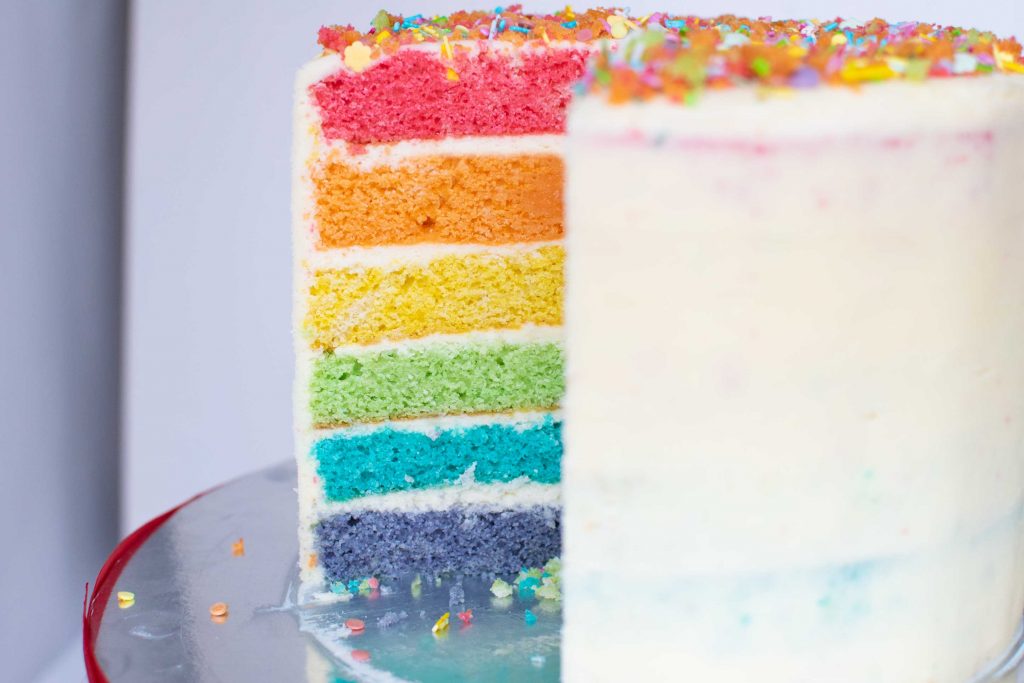
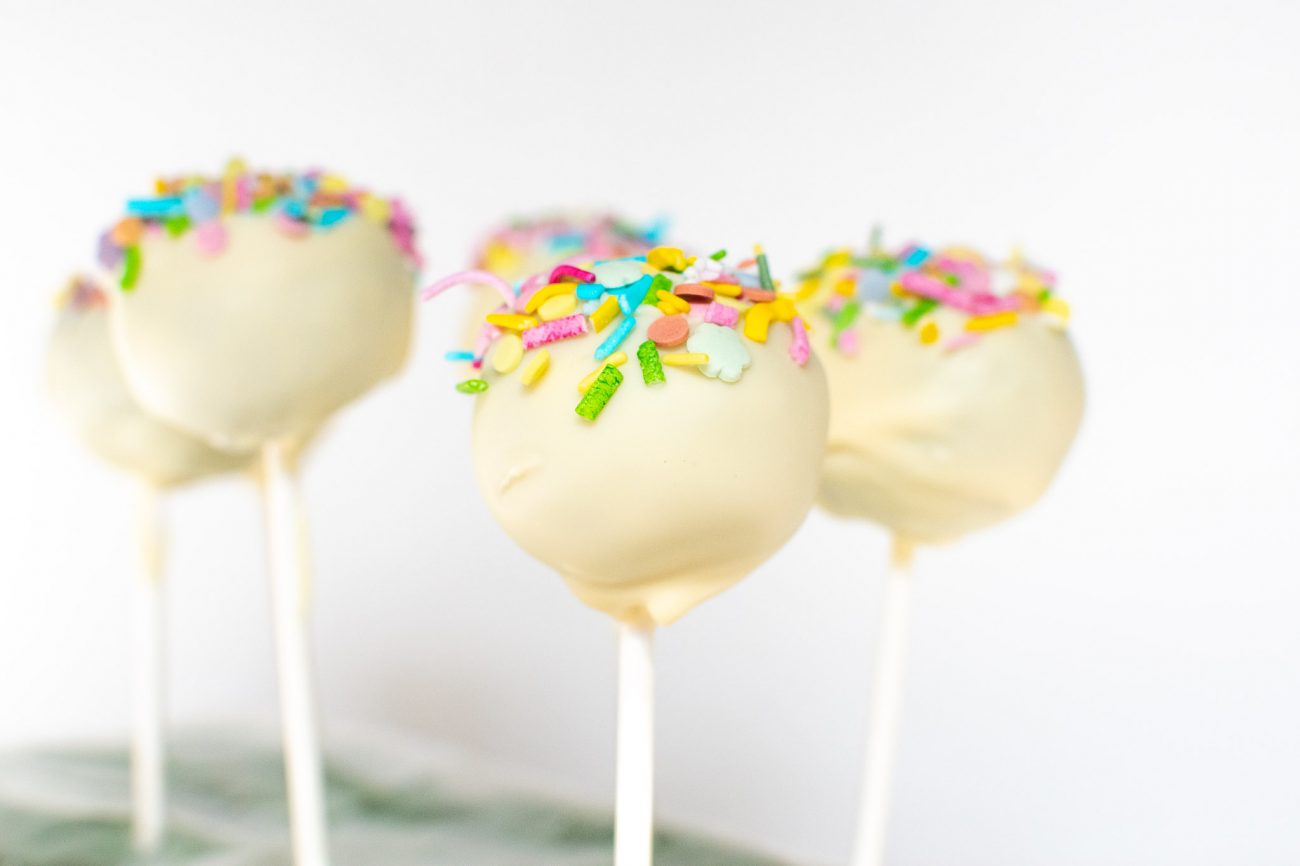
Now you have a load of cake trimmmings left over well do not let them go to waste! You can use them to make these easy cake pops on a rainy day 😉

this cake is very delicious thank you for making this delicious recipe
You are so very welcome. I’m so glad you enjoyed it!