How to make restaurant quality pizza at home
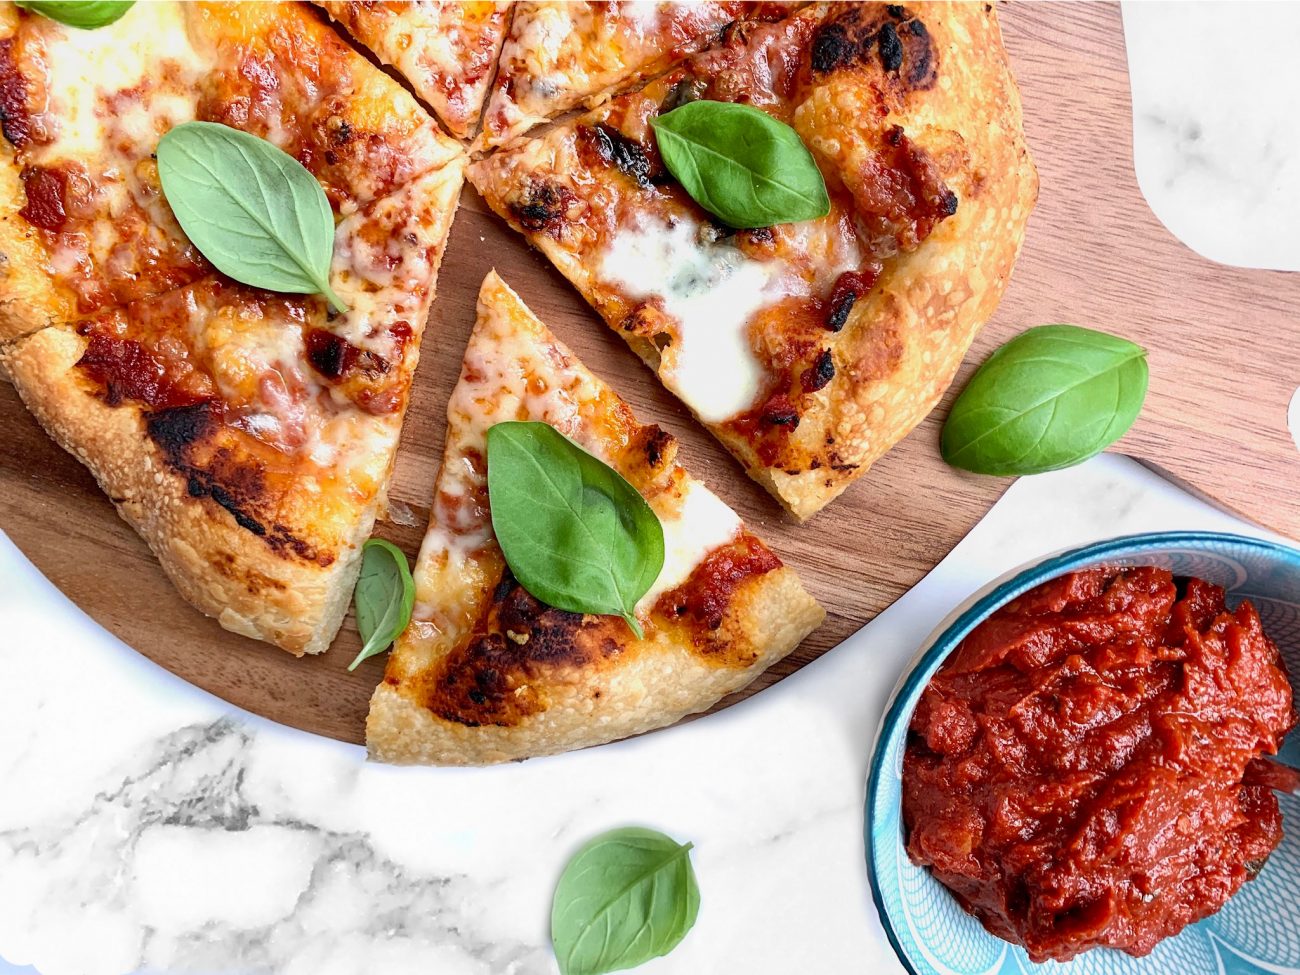
My god I love pizza. Like I LOOOOVE pizza. Who the heck doesn’t? And I love making my own pizza dough – its fun and inexpensive. I’ve been making pizza dough for some years and it has taken me until now to get it just right. It is very disappointing when you take it out of the oven, looking wonderful and it tastes like bland cardboard.
I thought I could just follow any old recipe and it would be a success but I have encountered many issues and had many failing pizzas. Over time I have found the perfect recipe and adapted some techniques to ensure my pizza is a thing of perfection, which I will share with you now.
I’m going to tell you exactly how to create that restaurant quality pizza at home in your own oven using techniques from professional bakers and Italian chefs. This wont be a quick and easy method by any means but it is definitely worth the time. This is the professional way – the Italian way.
Below is a slightly converted chef Sim Cass’s recipe. Chef Sim Cass has been a baker since 1973 so I think we can trust what he tells us. He uses a method of using a preferment dough for texture and flavour – after trying this I realised this is they key! The recipe in this post is adapted slightly with inspiration from Jamie Olivers pizza dough recipe from his Jamie at Home recipe book. A recipe I find myself going back to again and again.
Before we get to the recipe lets go through some techniques vital to getting that amazing pizza.
Equipment
Pizza Stone
The best pizzas are cooked in a wood fire oven, but who the hell has one built in their garden really? Thus a pizza stone is the main piece of equipment thats going to give us the best result in our house hold ovens. They don’t cost much and it has been a worthy investment for me. The stone takes a while to heat up so heat it up in the oven for a minimum of 30 minutes. Oven on MAX temperature.
Pizza Peel
When I first made a pizza at home I stretched out my dough, added my sauce and topping then realised, how the freak am I going to get this on my burning hot pizza stone without it becoming a ball of pizza mess. So I had a work around and started building my pizza on the back of a large baking tray and shuffled it onto the pizza stone. Still not ideal, I have only since starting this post, just bought a pizza peel. No idea why I waited so long when it cost me £12 but it made things a lot swifter. Be sure to lightly flour the peel before building your pizza on top to ensure a smooth shuffle into the oven.
Stand mixer with dough hook
This is not essential and it is actually better for gluten development to knead and stretch your dough by hand however its messy and hurts my weak arms. So I like to use my stand mixer with a dough hook – it does all of the hard work for me.
Problems and how to fix them
The dough is tasteless
I’ve never been blown away by the flavour of my pizza dough until I pre-fermented my dough. This means leaving the dough to ferment and rise for a period of time, usually a minimum of 24 hours. By leaving the dough for so long the flavour from the yeast develops. The below recipe includes the ‘biga’ (pre-fermented dough) recipe and method. Biga is actually a town in Italy, I assume where this method originated. It’s not all that time consuming as you just throw the ingredients together and leave it on the side for 24 hours.
You can also add more salt to the dough mixture. The below recipe has a good amount of salt to enhance flavour.
You can also try brushing the crust and drizzling over the top of the pizza with an infused olive oil. I used a rosemary infused which was delicious. Chilli oil is my favourite though.
The dough isn’t cooked through
Get the pizza stone HOT – Going back to why the wood fire oven is so good at cooking pizzas is because the bricks that the pizza cooks on in there are SO HOT, they cook the pizza so quick and very well. Thats why we need to get our pizza stone as hot as possible, so the bottom of the pizza cooks really well. Uncooked dough is not a good texture or taste.
Create a very airy dough – Again using the biga method and leaving your dough to rise for a long time will create a lot of carbondioxide bubbles in the dough making it light and airy. If the dough isn’t very airy and is dense it can seem uncooked.
The top is too soggy
So after I mastered getting the bottom of my pizza crusty and cooked, I still had a problem. The top of the pizza was a watery soggy mess and the cheese was sliding everywhere. There are a few things I changed to fix this.
Cook your pizza 70% of the way with just the sauce – by doing this we are making sure that even the top of the pizza is cooked and almost crisp. Mozzarella holds a lot of water so adding that on to raw dough isn’t giving it a chance to cook.
Pre-cook your toppings – toppings, especially vegetables hold a lot of water and are released when cooked so we can extract that moisture separately first and add toppings with the cheese towards the end.
Ensure pizza sauce is properly cooked down – if making pizza sauce yourself, canned tomatoes also hold a hell of a lot of water. Cook the sauce for a minimum of 1 hour to evaporate all of that water to get a thicker sauce.
Don’t use too much sauce – You don’t necessary have to cover the whole pizza with sauce you can blob it around the top to leave more exposed dough to cook well.
The dough tears when shaping
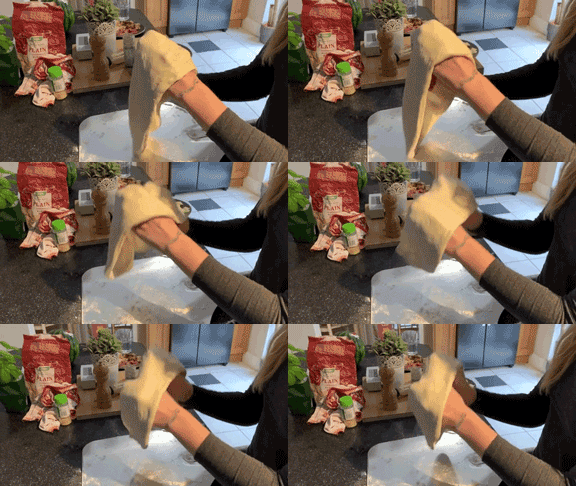
This one was very frustrating for me. We aren’t going to get very far making the pizza if the base isn’t shapeable. It is vital to use a very high gluten flour or strong bread flour to make our dough. Gluten is the protein that will give our dough the typical stretchy pizza dough characteristic. It’s a beautiful thing when you can confidently stretch your dough, throwing it into the air like a real Italian, without any tearing.
When forming the dough the kneading and stretching helps to develop the gluten. It is easier to give it a good stretch with your hands.
The dough is too dense
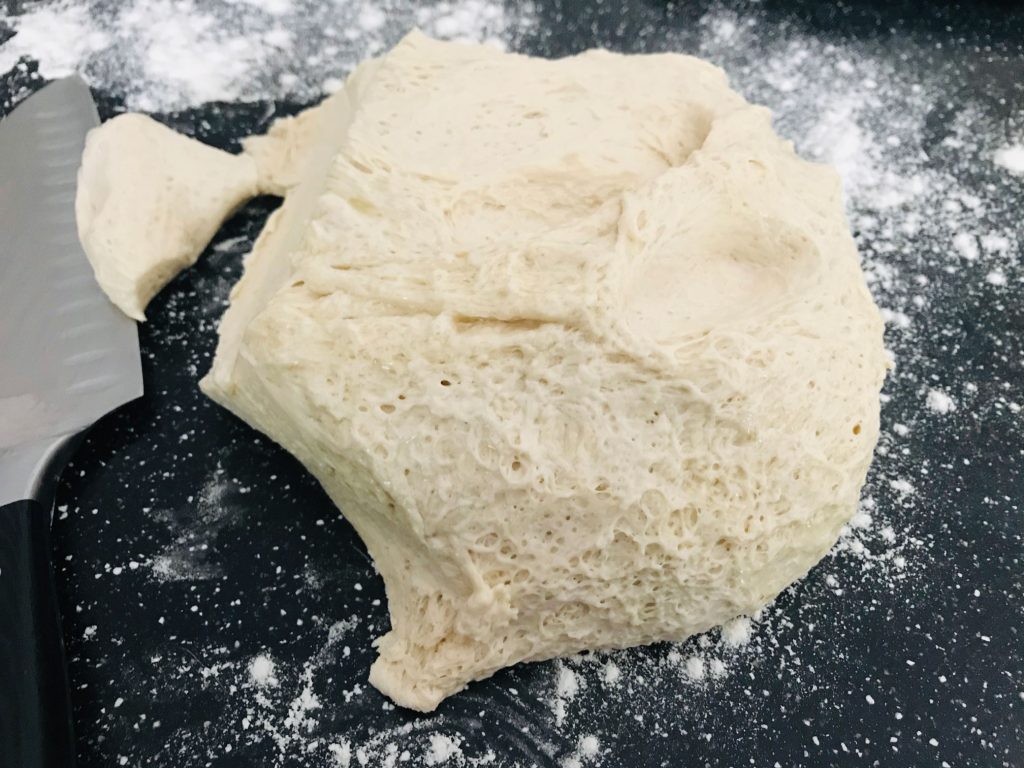
Again the biga or pre-fermented dough creates a hell of a lot of air in the dough. I leave mine to rise for a long as possible. 4 days in the fridge for the biga and 24 hours in the fridge for the final dough. You wouldn’t believe the beauty of that dough when it cooks. Lots of air holes inside and once it hits the heat, it puffs up beautifully with a light crispy shell. The below recipe creates a dough far from heavy and dense.
You can see in the image below the air holes we have created.
Recipe
Prep Time: 2 – 6 days (including rise) Cook Time: 15 minutes Makes: 8 small 11 inch pizzas Difficulty: Moderate
For the biga:
- 285 grams high-gluten flour
- 170 grams water
- 4 grams fresh yeast
For the dough:
- 650ml lukewarm water
- 7 grams fresh yeast
- 1kg high-gluten flour (strong bread flour or 00)
- 21 grams salt
- 50 grams olive oil
- Biga
For the sauce:
- 2 tins peeled plum tomato’s
- 2 mini tins/1 tube/6 tablespoons of concentrated tomato puree
- olive oil
- 1 tablespoon dried oregano
- 2 tablespoons dried garlic powder
- handful of fresh basil
- 1 teaspoon sugar
- salt & pepper
Method
The Biga
- Roughly mix the water, yeast and flour in a medium bowl until combined. You can leave this a bit messy. Cover the bowl tightly with cling film and leave on the side at room temperature for 24 hours. After 24 hours transfer to the fridge for up to 5 days depending on when you want to make your final dough.
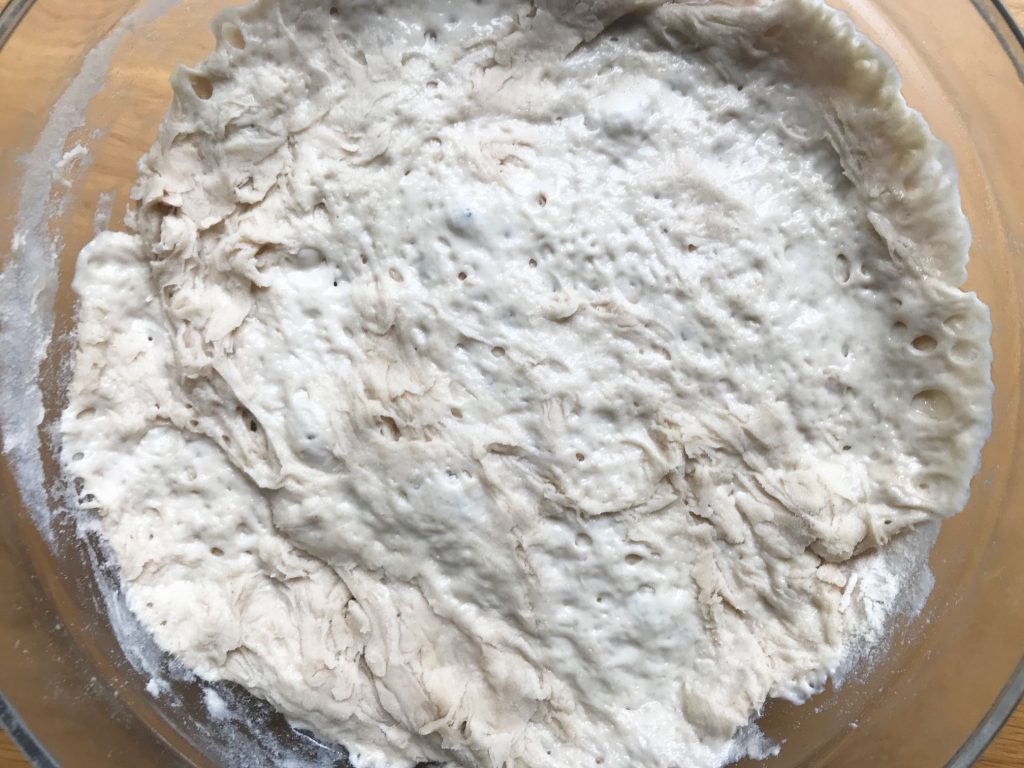
Here is the biga once it has done its thing. You can see lots of air holes. This is what will make our dough so amazingly crunchy and light.
The Dough
- In a stand mixer with a dough hook or by hand combine water, flour, yeast and salt. Mix together and slowly break off bits of the biga adding it to the dough as it mixes until all the biga is incorporated into the dough.
- Add in the olive oil and mix until it is combined.
- Form a smooth ball of dough and put into a large lightly oiled bowl. I used my stand mixer bowl as it already had oil in. Cover tightly with clingfilm and leave to rise for another 24 hours in the fridge.
- Your dough should be huge now.
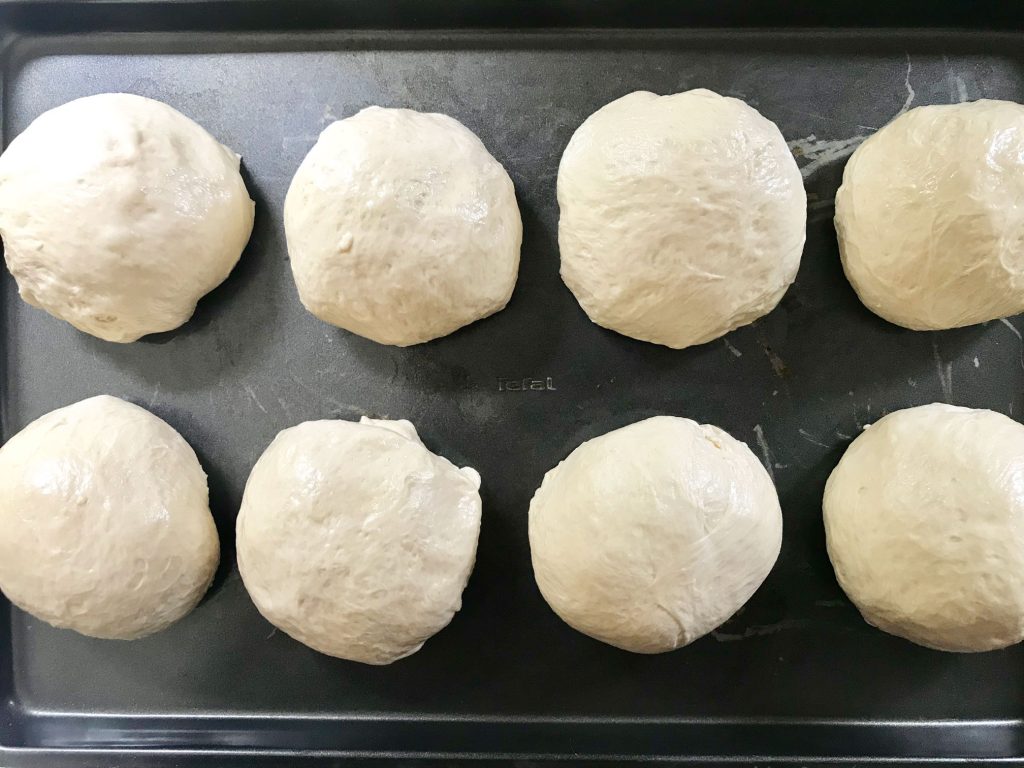
- Transfer the dough onto a floured surface and weigh out 8X 225g dough balls.
The Sauce
The sauce will take around 45 minutes to properly thicken and cook. This sauce serves all of the dough. Half the amounts if you are only using half of the dough. The sauce can be stored in the fridge for up to 3 days.
- Add a tablespoon of olive oil to a medium pan
- Pour in the tomatoes from both tins
- Add the tomato puree, oregano, garlic powder, basil and the sugar. Season to taste.
- Use a potato masher or wooden spoon to break up the plum tomatoes.
- Mix everything together
- Leave on a simmer for 45 minutes or until thickened. Keep checking and breaking up those plum tomatoes as they cook.
Pizza Assembly
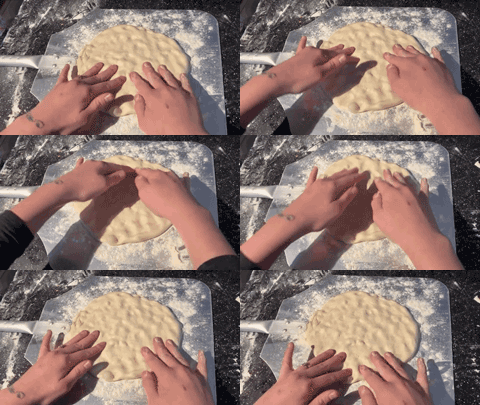
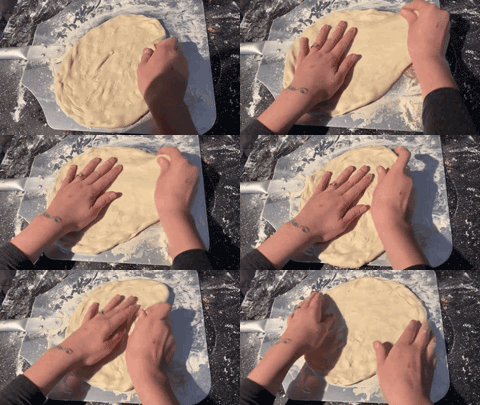
Now you have your ball of dough ready to go flour your pizza peel or surface and press the ball into a flat circle.
Stretch out the dough as shown below. The wonderful dough we have created allows us to shape the pizza like this without it tearing. Still be a little gentle though.
Spread some of the sauce over the dough leaving a gap for the crust. Oil the crust with olive oil. I love chilli oil.
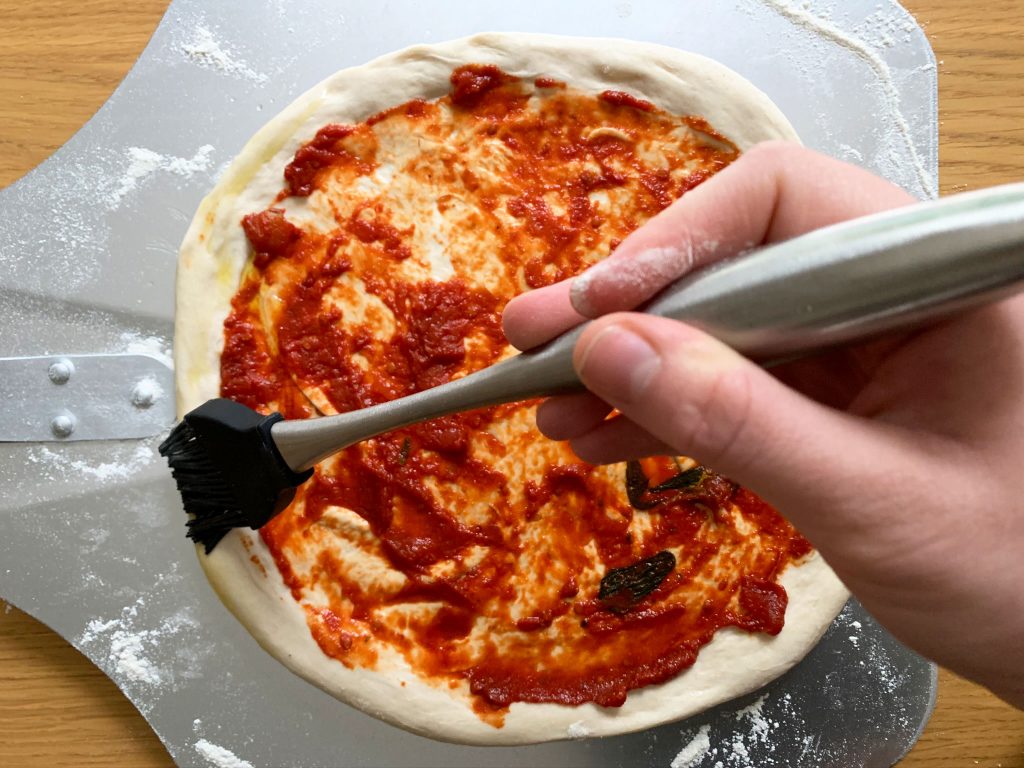
If your mozzarella has dried out a bit and your sauce is really thick you can add all of your toppings and cheese at this point. Or if you really want to ensure your pizza does not go soggy put your pizza in the oven at this point with just the sauce.
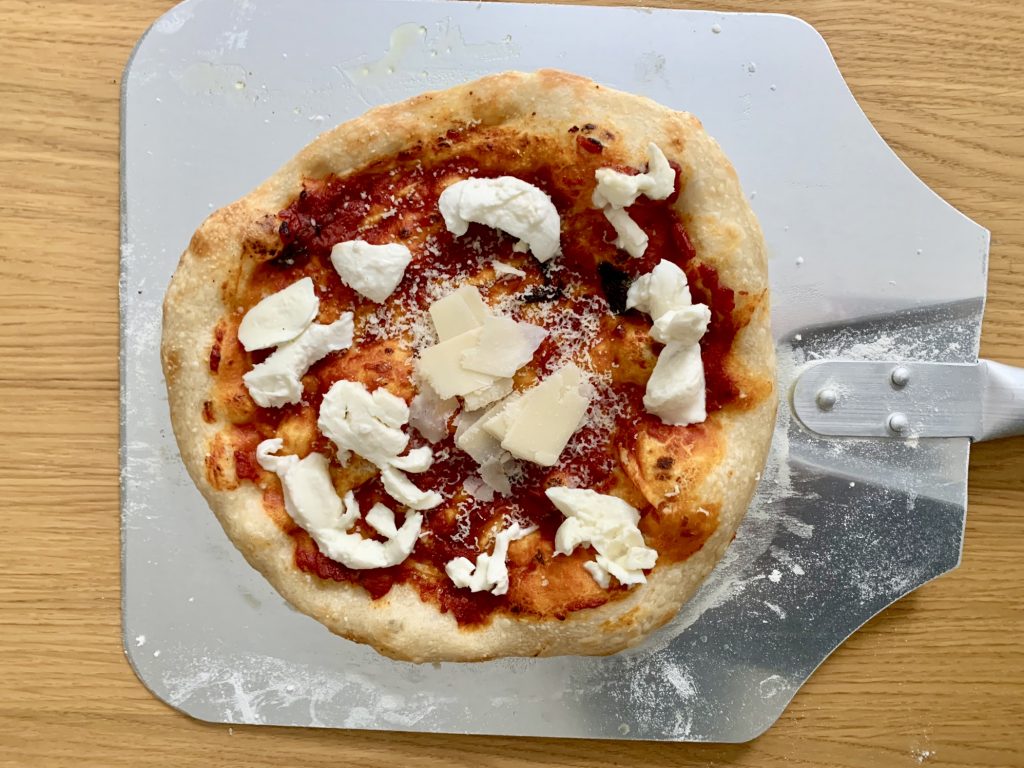
Take the pizza out once it looks 80% cooked. Add your cheese and toppings, but it back in the oven until the cheese is bubbling. This is when the pizza is done. Slice it up and enjoy a mouthful of heaven.
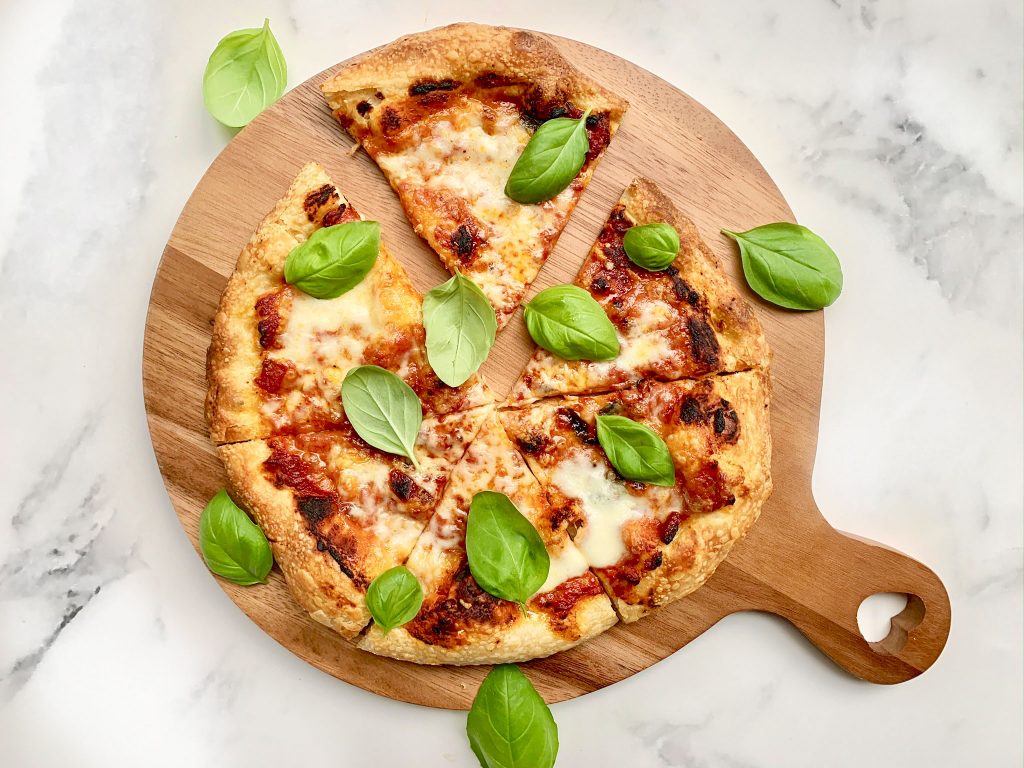
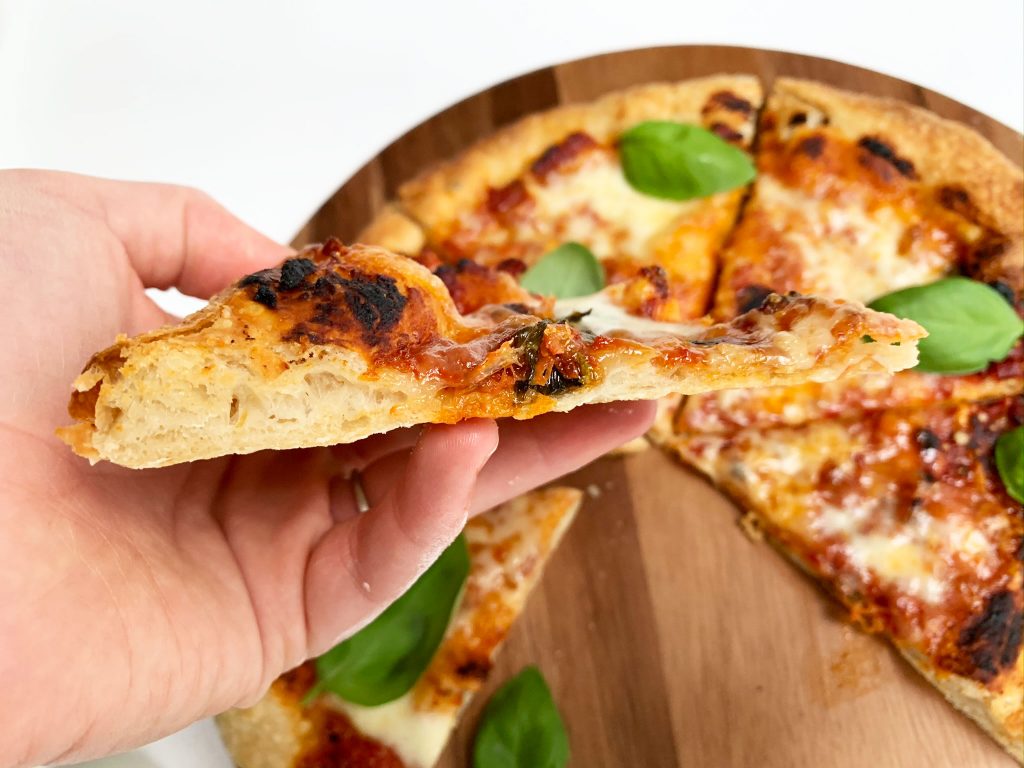
I am genuinely so impressed with this pizza. It is 100% as good as any pizza you get in a restaurant. I had quite a lot of dough left over from this recipe so I wrapped left over dough balls tight with cling film and kept them in the freezer. We have been eating pizza all week! Defrost at room temperate for about 1 hour.
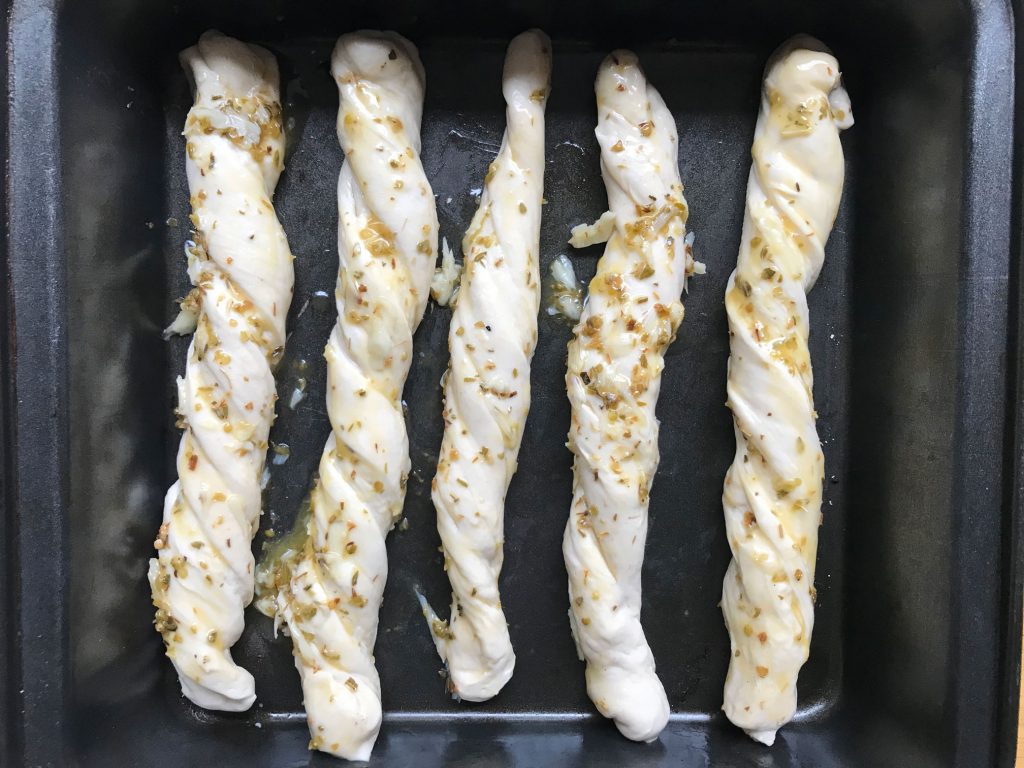
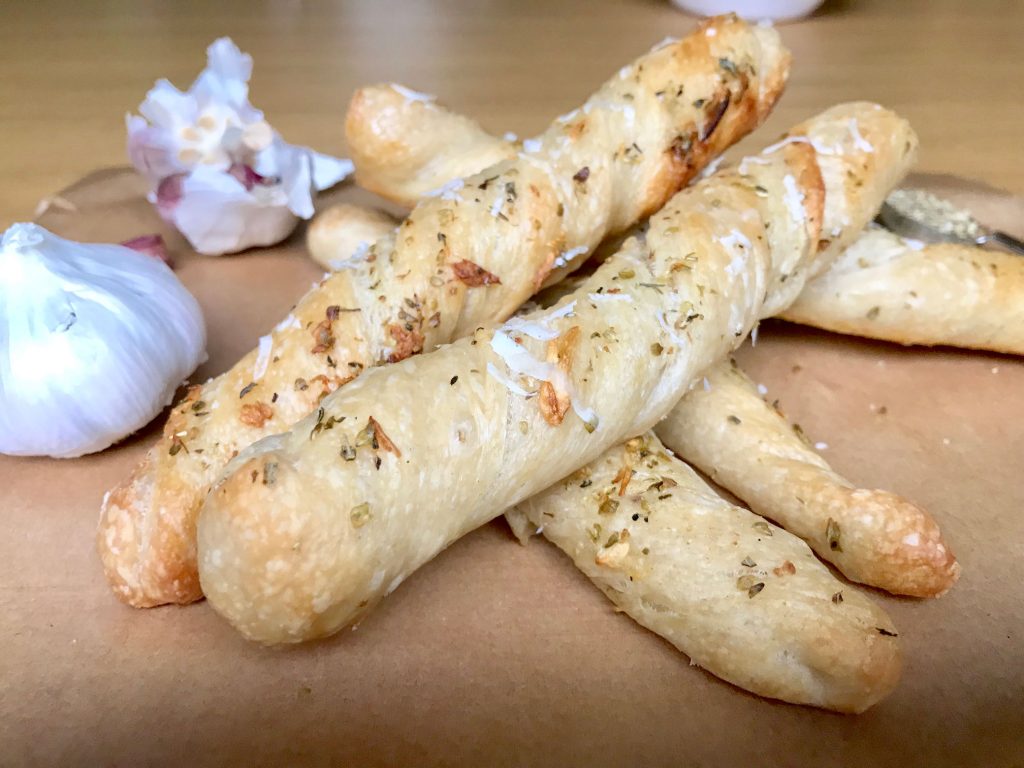
I also made garlic twists with the left over dough. I shaped the dough and brushed with butter, fresh garlic, oregano and parmesan cheese.
Click here for Chef Sim Cass’s original recipe.

